In my short but extensive relationship with makeup , I’ve realized a bunch of things—how to spot the right foundation match for my skintone, that the right red lip is my secret beauty weapon—but by far, knowledge about the versatility of the Beautyblender is the greatest lesson I’ve ever learned.

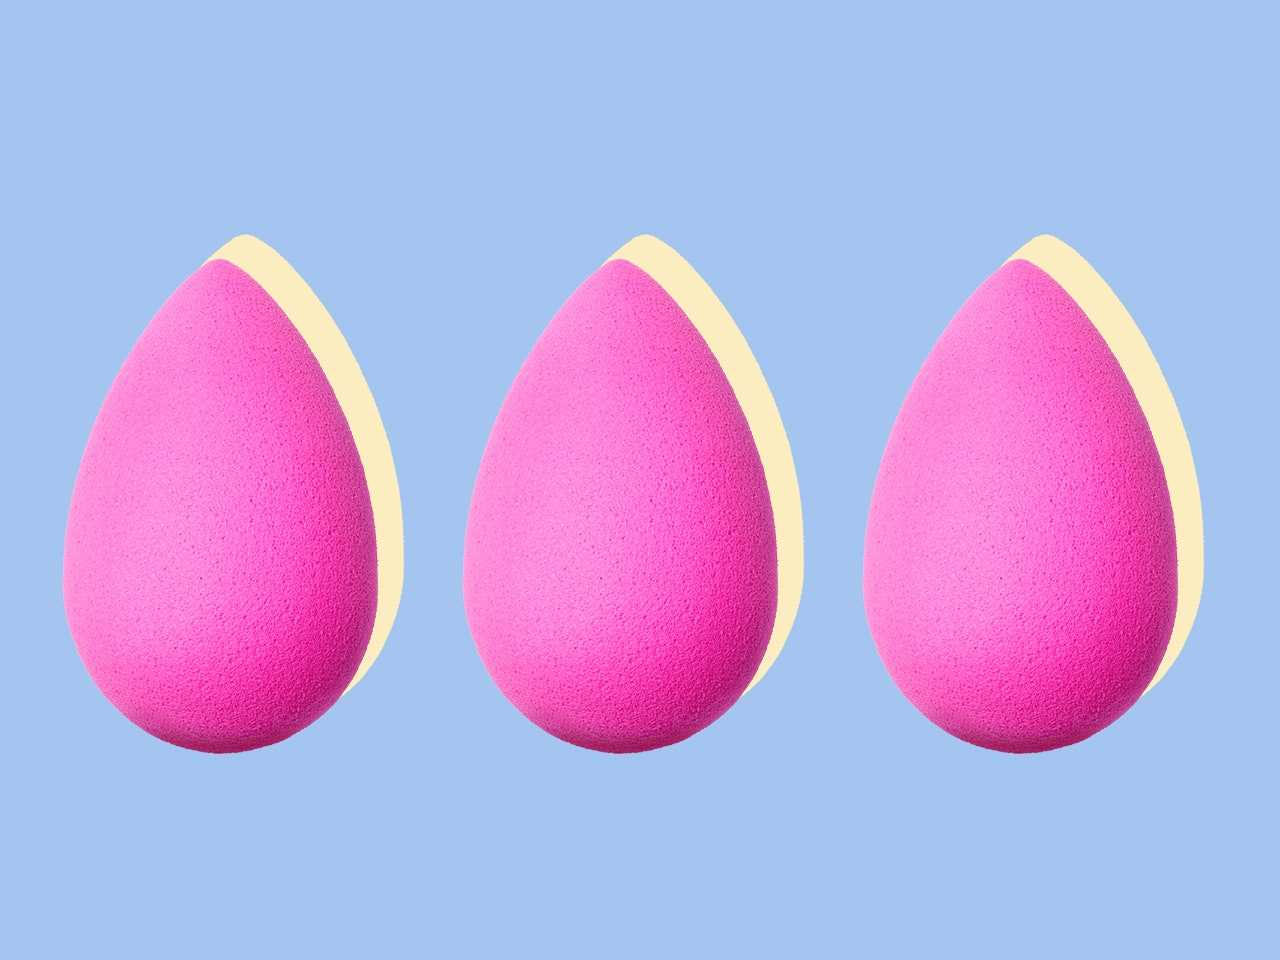
When I say Beautyblender , I’m referring to the egg-shaped application sponge that will eternally live in my makeup bag. The Beautyblender sponge narrows at the top (its point is clutch for working product into the corners of my face) and is ridiculously squishy, so it’s able to bounce off the skin’s surface with ease. It’s also specially designed to not absorb product, which means I don’t have to worry about wasting any foundation—like ever.
Beautyblender is a brand name. There are several different versions of the original sponge , $20, and plenty of (often cheaper) sponges that mimic the Beautyblender’s shape and squishiness. Some are pretty good facsimiles and probably work close to if not just as well, while others just don’t hold up if you ask me—or ask just about any makeup artist or beauty buff. For the sake of simplicity, I’m talking about the OG in this article, though this all applies to similar sponges.
Although I typically use Beautyblenders for my foundation and concealer application, there are a bunch of other ways you can use the tool that I hadn’t even considered before. This sponge is way more than just an application tool—it’s a bonafide jack of all trades. To figure out how to fully utilize my go-to sponge, I asked a few makeup artists for some of their Beautyblender best practices—and now I definitely need to step my game up on the number of Beautyblenders I have at the ready.
Using a sponge to apply and blend foundation and concealer makeup is a total game changer. “Beautyblenders make the foundation application almost foolproof,” celebrity makeup artist Emily Cheng tells SELF. Not only is it easier to reach the awkward areas with the tool that many brushes can’t—around the nostrils, under the eyes—but it also helps to seamlessly blend makeup.
If you’re wondering how to master the no-makeup makeup look, using a damp Beautyblender and your favorite foundation/concealer might be your new go-to technique. “Always work with it wet (damp but not dripping),” suggests celebrity makeup artist Joanna Simkin. “It really helps a face go from ‘made-up’ to ‘flawless skin.’ ” Makeup artist Ashleigh Ciucci advises dotting foundation on the back of your hand after dampening the sponge, then tapping the Beautyblender into the product to absorb. Then, stipple product onto the skin, starting in the center of your face, and blending into the jawline.
To be honest, I never considered using a Beautyblender to apply skin-care products like moisturizers and serums, but it makes total sense considering the sponge won’t absorb them. Plus, using the sponge means there’s way less mess on your fingertips, and more of an even application.
If you plan on applying makeup after your chosen skincare with a sponge, Ciucci suggests the method could work in your favor. “When applying your face oil or cream with a Beautyblender, it not only feels nice, but the blender holds onto a bit of product. When you move to your foundation, the product mixes with the skin-care that’s left over to create a more supple finish.”
For a natural glow, Simkin suggests dipping the tip of the blender in a drop of face oil and applying it to the high points of the face—cheekbones, brow bones, bridge of nose, and Cupid’s bow—for a reflective, non-glittery glow.
Using a sponge to apply powder is one of the best ways to ensure your makeup is locked and loaded, since it allows you to set smaller areas—like under the eyes—that may be difficult to do with a powder brush. “I always use a damp Beautyblender in setting powder to ‘fake bake’ (my term for baking but not really),” explains Simkin. “I do a light press of translucent powder over concealer to set, then dust it off right away instead of letting it sit like a traditional ‘bake’ [or set].” Cheng tells SELF that she typically uses a sponge to set her clients’ T-zones.
Ciucci likes to tap a clean, damp sponge over face makeup after it’s been set to avoid an overly powdered appearance.
Ciucci also suggests reaching for a damp sponge when applying cream blushes, as this technique helps to seamlessly build cheek color. To apply cream blush with a Beautyblender, Ciucci explains, “smile and stipple onto the apples of your cheeks.” Depending on how dramatic or natural you want your blush to appear, you can go over the area a couple or a few times until you achieve your desired blush look.
Similar to building your blush, Beautyblenders can also be used to build up a highlight. You can use a damp sponge , Ciucci suggests, to tap into cream highlighter and stipple it on the high points of the face.
“If I ever want to soften up makeup or refresh throughout the day I will soak one with an essence or spray and pat over the entire skin instead of using water,” says Cheng. She often uses SK-II’s Facial Treatment Essence for midday touch-ups.
You may not have considered using a Beautyblender to apply and remove your makeup, but pro makeup artist Mia Yang tells SELF that it’s her not-so-secret beauty weapon. “I think most people thinking that a Beautyblender is for product application only, but it works just as well for removing it,” she says. “Depending on what motion you use, it can do either. To apply product, I use a bouncing motion to build-up makeup. To remove product, I use a wiping motion to completely take it away or reduce the product’s colors.”
